
THE SHORT ANSWER
Can you hang pictures without nails?
Yes. For a suitable smooth wall, you can hang lightweight pictures using removable adhesive mounting pads, picture-hanging strips, or adhesive hooks. If you want to avoid adhesives altogether, lean a framed print on a stable shelf or console. The best choice depends on the weight of your art, the wall finish, and how you plan to remove it.
Important: “No nails” does not always mean “zero risk.” Even removable adhesives can damage paint or wallpaper if they’re used on the wrong surface or removed incorrectly.
The fastest way to make a room feel finished is usually to get something meaningful up on the walls. It might be a favorite vacation photo, a family picture, or a print you’ve been meaning to display for months.
But if you rent, have freshly painted walls, or just don’t want to fill drywall with holes, picking a hanging method matters. I would make that decision before choosing where everything goes. A good-looking gallery wall isn’t much of a win if removing it later takes half the paint with it.
Here’s how I would approach it, including the options that work well, the ones I’d be careful with, and how the lightweight PicPanels foam format fits into the picture.
01 / CHOOSE YOUR METHOD
Four ways to hang pictures without drilling
There isn’t one universal winner. Match the mounting method to the item and the wall.
GREAT FOR LIGHTWEIGHT FOAM ART
1. Adhesive mounting pads
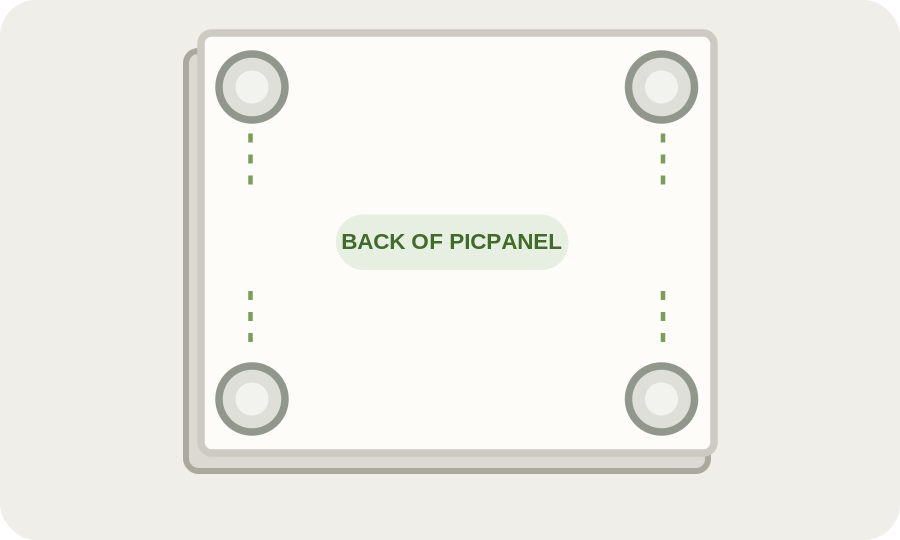
Small adhesive pads attach directly to the back of compatible lightweight artwork. They keep the profile clean because there isn’t a visible hook or wire. PicPanels’ foam prints use four circular mounting pads supplied with the order.
GREAT FOR COMPATIBLE FRAMES
2. Removable picture-hanging strips
Interlocking strips, such as Command™ Picture Hanging Strips, can work for frames within the manufacturer’s stated limits. Follow the exact application sequence. Command specifies firm pressing, temporarily removing the frame to reinforce the wall strips, then waiting one hour before reattaching it.
GREAT FOR ART WITH A HANGER
3. Removable adhesive hooks
These can be convenient for lightweight framed prints with hanging hardware. The hook must be compatible with your frame and rated for the full load. A hook designed for a keychain is not a substitute for a rated picture hanger.
NO ADHESIVE, NO HOLES
4. Lean art on a stable surface
A console table, mantel, existing shelf, or stable freestanding picture stand is the safest starting point when adhesives aren’t appropriate. Secure larger items against tipping, especially in homes with children or pets. A newly installed wall-mounted picture ledge usually needs hardware, so it isn’t truly a no-hole solution.
Quick comparison: which nail-free picture hanging method fits your wall?
| Method | Best for | Wall requirement | Main trade-off |
|---|---|---|---|
| Circular mounting pads | Compatible lightweight panels | Suitable smooth, clean, dry finish | Adhesive compatibility varies |
| Interlocking strips | Compatible frames | Manufacturer-approved surface | Weight, cure time, removal rules |
| Adhesive hooks | Art with hanging hardware | Suitable prepared surface | Hook may be visible |
| Freestanding display | Framed or mounted art | No wall attachment | Needs stable furniture and tip protection |
A DIFFERENT WAY TO DISPLAY PHOTOS
Why frameless foam prints make hanging easier
Traditional framed artwork can be beautiful, but the frame adds another decision: hardware, weight, glass, and how everything lines up.
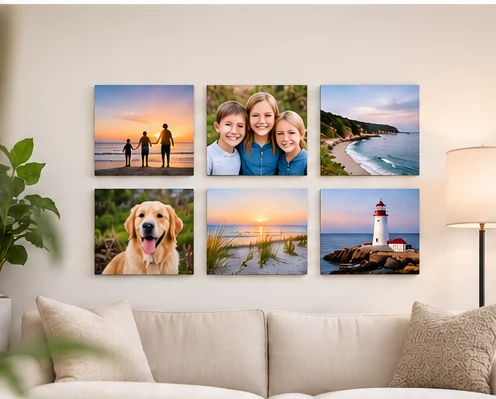
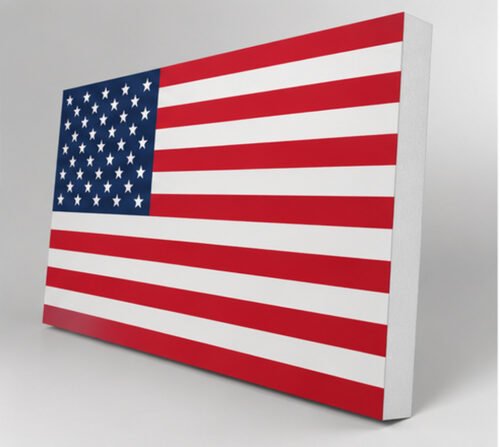
A PicPanel takes a simpler route. Your photo is printed on rigid, lightweight, ½-inch white foam, with a clean white edge and no separate frame. Orders include four circular adhesive pads and a mini bubble level.
That makes PicPanels worth considering when you want a modern gallery wall without the look or weight of a conventional frame. It doesn’t eliminate the need to check your wall finish and the mounting pad instructions.
02 / STEP-BY-STEP
How to hang a PicPanel without nails
PicPanels use four round adhesive mounting pads, rather than the rectangular interlocking picture strips used on some frames. These steps reflect the PicPanels hanging guide; the instructions supplied with your actual pads always take priority.
STEP 1
Check and prep the wall
Choose a structurally sound, smooth, dry surface. Clean it exactly as the pad instructions direct and let it dry fully. Avoid incompatible paint, wallpaper, or textured finishes.
STEP 2
Attach the four mounting pads
Apply the circular pads near the four corners of the panel’s back, following the supplied directions and clearance requirements.
STEP 3
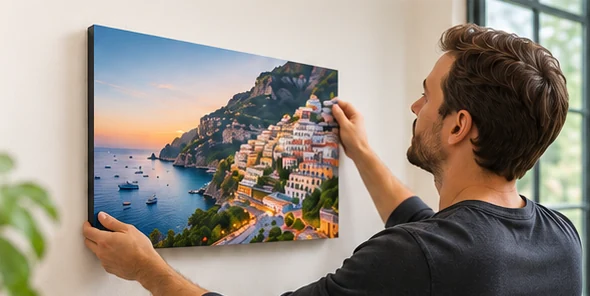
Peel the protective liners
Remove the pad liners only when you’re ready to mount. Keep the adhesive surfaces free of fingerprints, dust, and lint.
STEP 4
Position and level
Mark your intended placement with removable painter’s tape if appropriate for the surface. Set the included mini level along the top edge and center the bubble before adhering.
STEP 5
Press each mounting point
Carefully secure the panel and press each pad location as required by the included instructions. Observe any specified pressing or settling time before letting go.
STEP 6
Step back and enjoy
Check the alignment, give the mount time to settle if required, and keep the product’s removal instructions for later. That’s it: your photos are finally off your phone and on the wall.
For product-specific mounting and removal instructions, see the official PicPanels hanging guide.
FIRST ORDER OFFER
Your walls deserve better.
Turn the photos you love into custom wall art. Join the PicPanels email list for 10% off your first order.
10% offer available with email signup. Terms and eligibility apply.
03 / DON’T SKIP THIS
What kinds of walls can you hang pictures on without nails?
Your wall surface matters more than most people expect. Adhesive products work best on approved finishes in sound condition.
Better candidates
Smooth, dry, structurally sound painted drywall or other surfaces specifically approved by your chosen adhesive manufacturer.
Check that the paint is fully cured and the wall is free of moisture and dust.
Proceed with caution
Wallpaper, textured paint, brick, uneven plaster, fresh paint, peeling finishes, damp walls, and delicate coatings.
When compatibility is uncertain, choose a stable freestanding display rather than risk the finish.
Five checks before you stick anything to the wall
✓ Know the actual weight. Check the finished artwork, not just its approximate size.
✓ Read the mounting product’s rating. Weight limits depend on pad or strip type and arrangement.
✓ Allow painted walls to cure. A wall that feels dry may still be too new for adhesive.
✓ Watch the location. Avoid spots with high heat, excess moisture, or areas where a falling item could cause injury.
✓ Keep removal instructions. Different adhesive systems release in different ways.
For rectangular Command Picture Hanging Strips specifically, 3M says to wait seven days after painting, avoid wallpaper, and not hang over beds. Those instructions should not be assumed to apply identically to PicPanels’ circular mounting pads.
04 / MAKE IT LOOK INTENTIONAL
How to plan a gallery wall without making extra holes
Before you mount the first photo, solve the layout. It’s much easier to adjust a plan than to remove and reapply adhesive.
Start with a simple grid
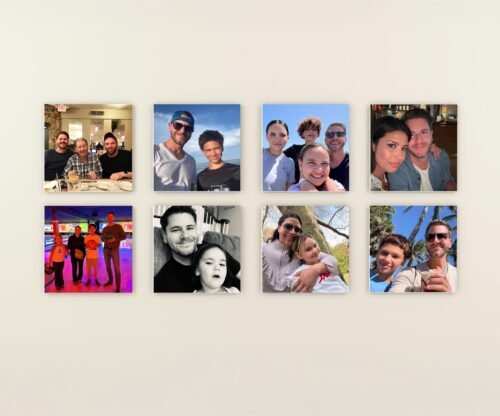
For square photos, two rows with even spacing are an easy place to begin. Lay the prints on the floor first, photograph the arrangement, and adjust until it feels balanced.
Measure the overall width of the group, including the gaps, and check where that grouping will sit relative to the furniture below it. A single centered arrangement often looks calmer than several prints scattered across a large wall.
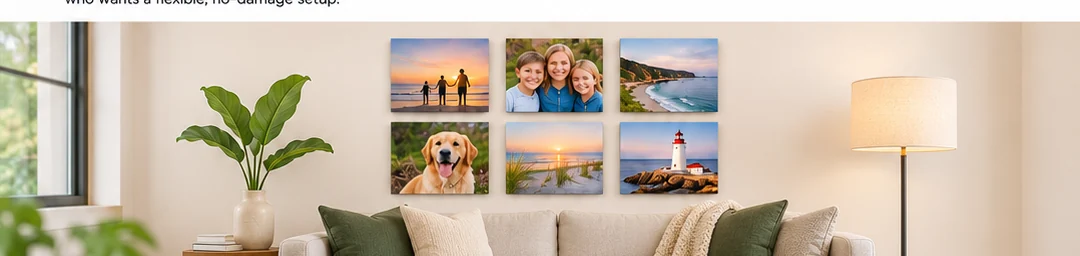
If you’re building a gallery from your own photos, PicPanels bundles make it easy to select matching square pieces and create a consistent look.
A simple spacing formula
For a row of four 8-inch square panels with 2 inches between each panel, the total width is 38 inches (4 × 8 + 3 × 2). Measure your available wall space before you order.
05 / THINK AHEAD
How do you remove pictures without damaging paint?
The removal method matters as much as installation. There is no universal trick that works safely for every adhesive.
First, support the artwork so it cannot fall. Next, identify the mounting product you used. For PicPanels’ circular pads, follow the specific removal directions supplied with the pads and in the PicPanels guide. Do not pull the panel sharply away from painted drywall.
For Command Picture Hanging Strips, 3M instructs users to separate the frame, then slowly stretch the release tab straight down along the wall rather than pulling it outward. The method is specific to those stretch-release strips and must not be copied for an adhesive pad that lacks a release tab.
If paint is already peeling or the adhesive is resisting removal, stop rather than force it. A small patch of touch-up work is better than turning a delicate wall finish into a larger repair.
YOUR QUESTIONS, ANSWERED
Frequently asked questions about hanging pictures without nails
Short answers to the questions people ask when they’re choosing a mounting method.
What is the easiest way to hang pictures without nails?
For lightweight wall art on a compatible smooth finish, removable mounting pads or picture-hanging strips are convenient because you don’t need a drill. For delicate walls, a stable tabletop or freestanding display avoids adhesive entirely.
Can removable adhesive damage painted walls?
Yes. “Removable” isn’t an absolute guarantee. Damage risk depends on paint age, wall preparation, surface condition, adhesive compatibility, and removal technique. Follow product-specific instructions and avoid fragile or incompatible finishes.
Can I hang photos on textured walls without nails?
Many adhesive products are not recommended for textured surfaces because uneven contact reduces holding strength. Check your mounting product’s surface requirements. If the texture is incompatible, use a freestanding display or another mounting solution appropriate for the wall.
Do Command picture-hanging strips work on wallpaper?
3M says not to use its Command Picture Hanging Strips on wallpaper. Adhesive can damage or detach the wallpaper surface. Consider freestanding artwork instead.
How long should I wait before hanging art with adhesive strips?
It depends on the exact mounting product. For Command Picture Hanging Strips, 3M’s instructions include a one-hour wait after reinforcing the wall strips. PicPanels’ circular adhesive pads may have different application requirements, so follow the instructions that came with them.
Do PicPanels come with hanging supplies?
Yes. PicPanels’ ½-inch foam prints include four circular adhesive mounting pads and a mini bubble level. Verify the wall surface and follow the supplied instructions before installation.
Can I reuse the same adhesive mounting pads?
Do not assume that used adhesive pads are reusable. Check the specific product instructions and replace single-use mounts before rehanging artwork.
How can I make a gallery wall look evenly spaced?
Choose a common panel size, plan the pattern on the floor, keep gaps consistent, and use a level. For example, four 8-inch panels in one row with 2-inch gaps span 38 inches total.
CREATE YOUR OWN
Explore custom wall art for your space
Ready to try a lightweight, frameless display? Explore current PicPanels products and choose the photos that feel right for your room.

FINAL THOUGHT
The best wall art is the art you’ll actually put up.
Choose the hanging method that suits your wall, follow the real mounting instructions, and spend more time enjoying the finished space than worrying about the installation.
If you want a clean, frameless look, turn your own photos into PicPanels and build a gallery around the memories you love.
References and further reading
• PicPanels Hanging Guide: product-specific pads, wall compatibility, and removal.
• 3M Command Picture Hanging Strips instructions: application sequence and manufacturer cautions.
• 3M Command FAQs: surface, weight, and preparation guidance.
Editorial note: This draft must be reviewed by the named author and illustrated with verified PicPanels product or installation photography before publication. Example visual assets are conceptual, not documentation of a tested installation.